Installation course
Set up Gooval Value-Add Benefit on Shopify in four steps.
1. Download & install
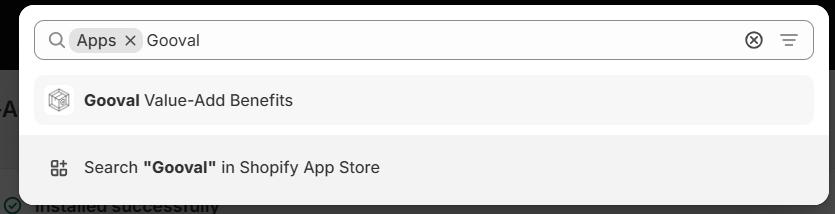
Get the app: Sign in to your Shopify admin, open the Shopify App Store, search for “Gooval Value-Add Benefit”, then click Install.
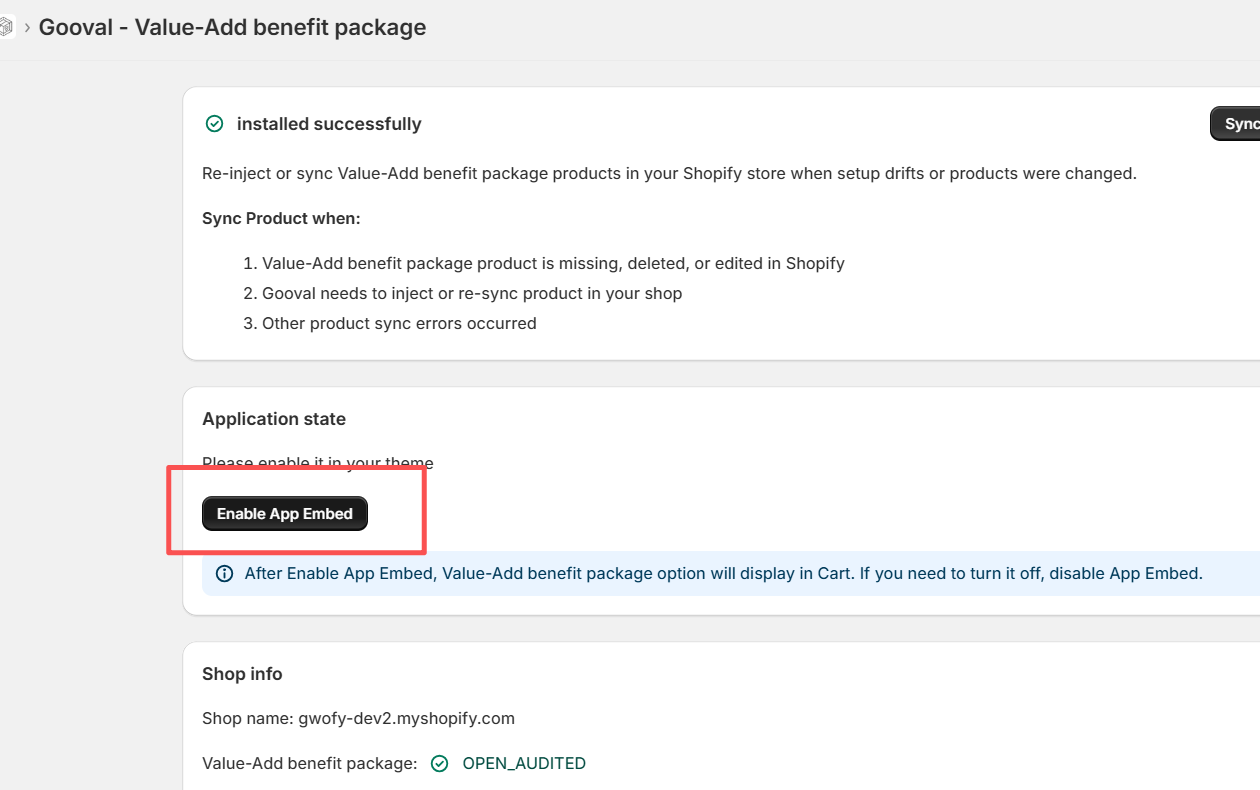
Activate the theme embed: After Shopify opens the theme editor, go to App embeds in the left sidebar, turn on Gooval Widget, then click Save in the top-right corner.
Storefront rendering: The app automatically finds Subtotal or the Checkout button on the Cart page and renders the widget. Merchants do not need to edit theme code.
2. Bind a payment card
Open settings: In the top-right of Shopify, click the  icon (or go to seller.gooval.io/settings) to enter the Gooval seller admin.
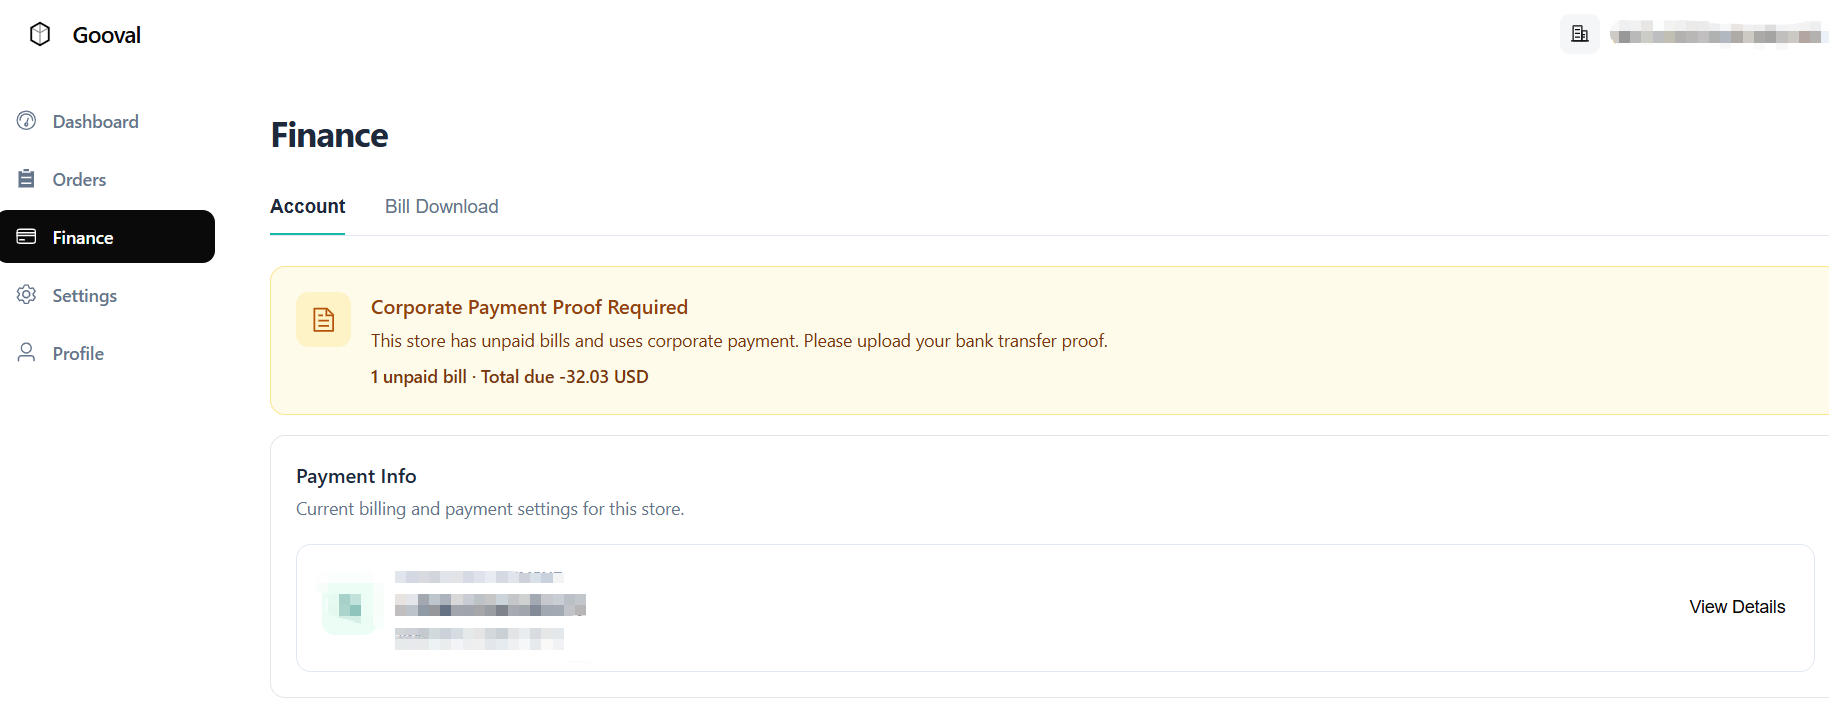
Bind a credit card: In financial settings, bind a funded international credit card (Visa / Mastercard) used for ongoing fee settlement.
3. Configure custom benefits & markup
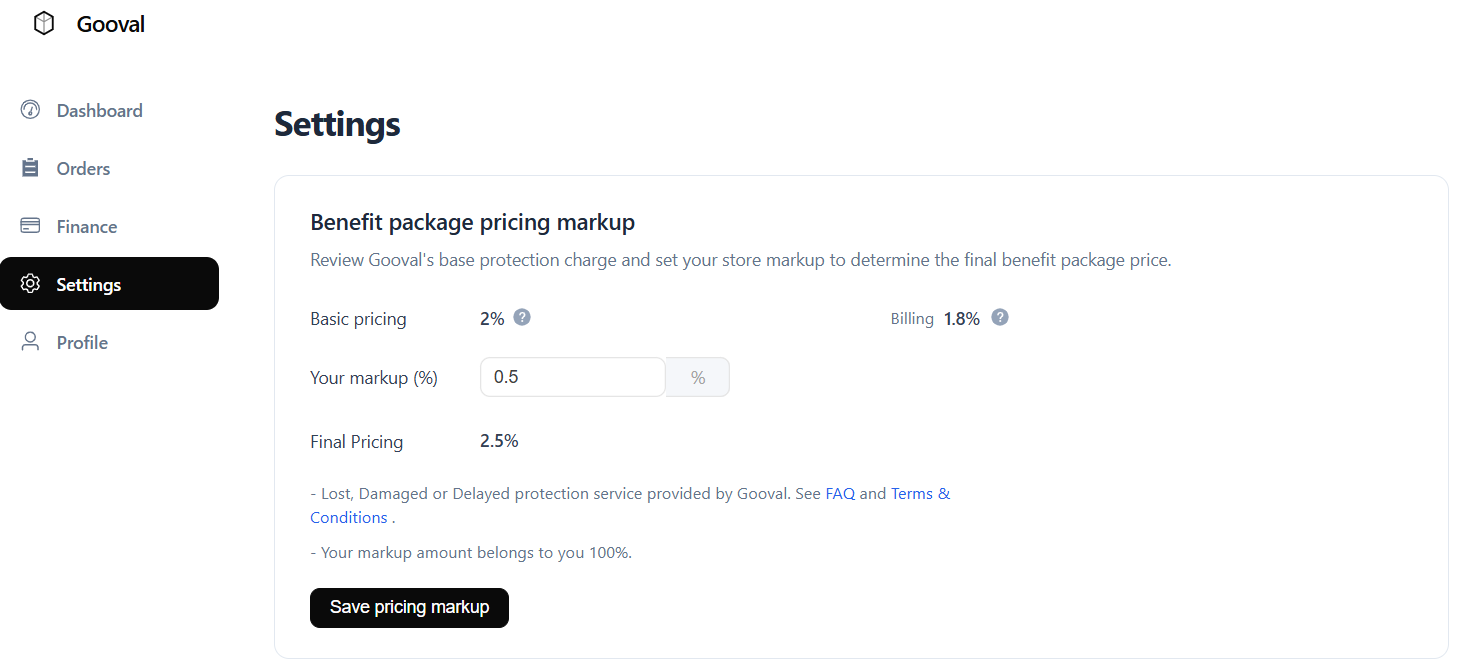
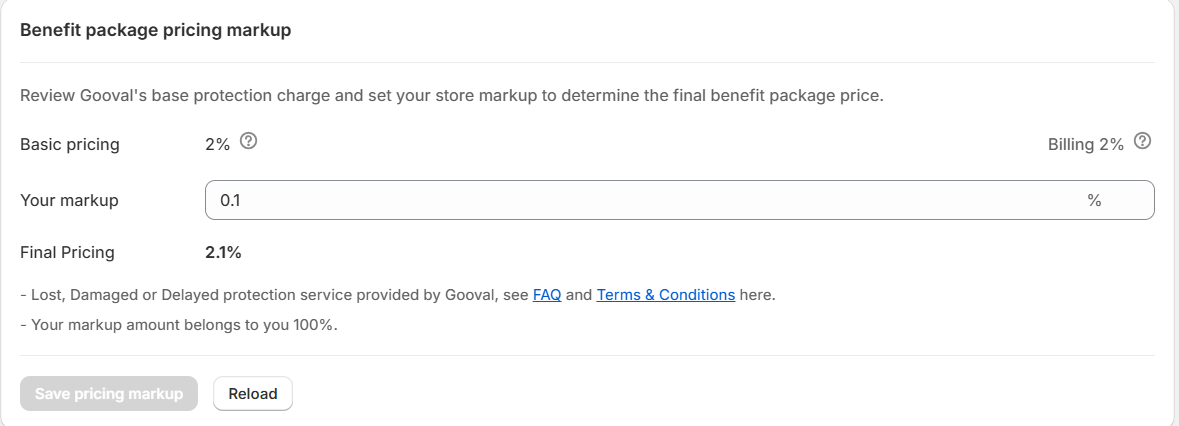
Custom markup: In the seller admin or the Shopify Gooval app Settings, review each product’s Base Rate, then adjust Store Markup under Benefit package pricing markup. Markup revenue belongs 100% to the merchant—Gooval does not take a share of the markup.
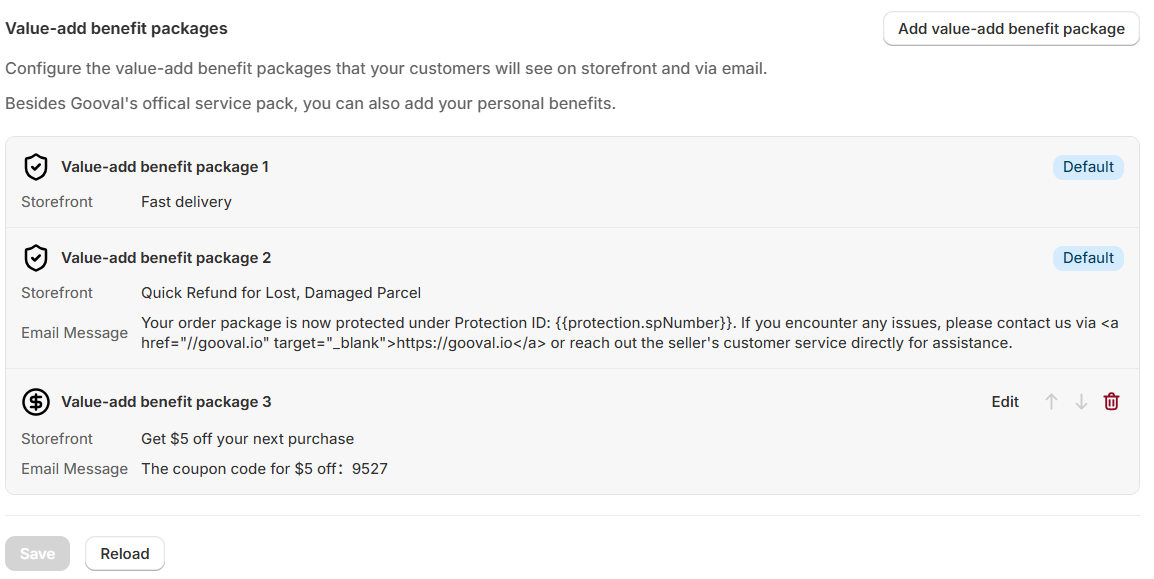
Edit private benefit copy: Click Add value-add benefit package to configure 2–3 lines of VIP benefits shown to buyers (for example priority shipping, a free gift, or an electronic coupon).
Link a discount code: Create a dedicated discount code in Shopify Discounts, then paste and bind it in the matching field in Gooval.
4. Orders & earnings
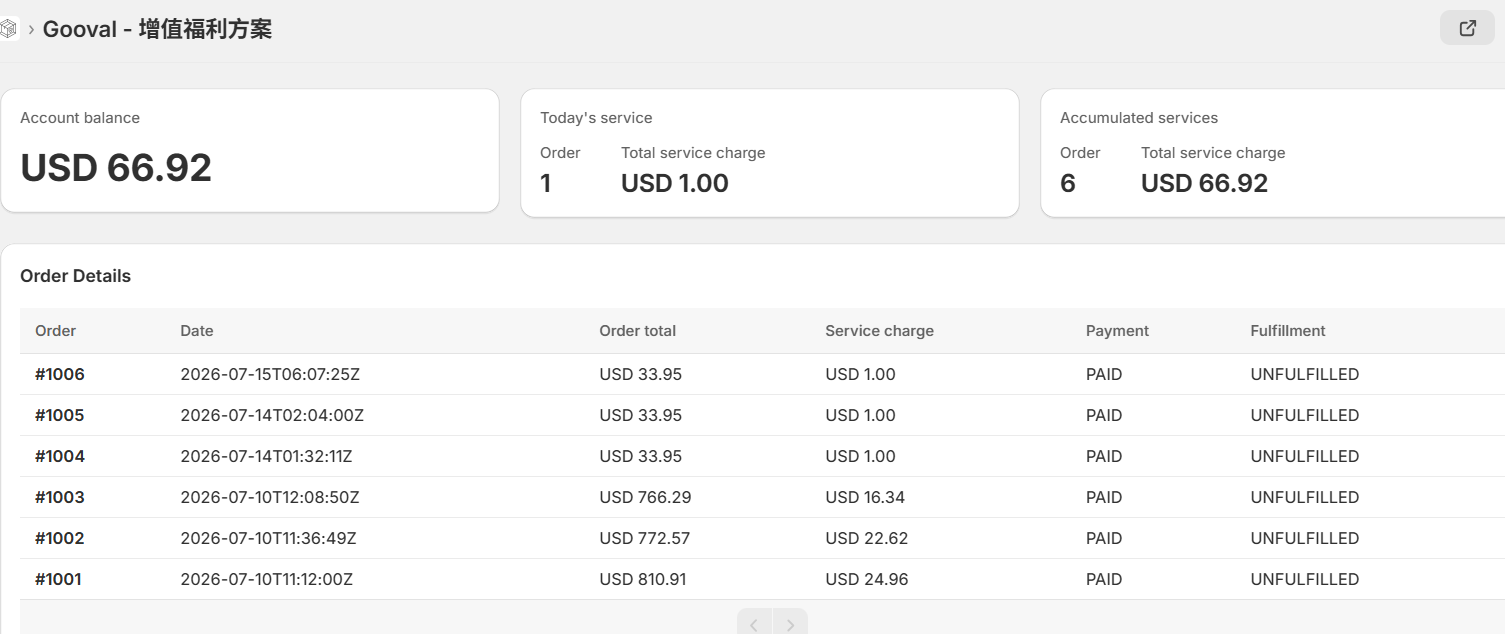
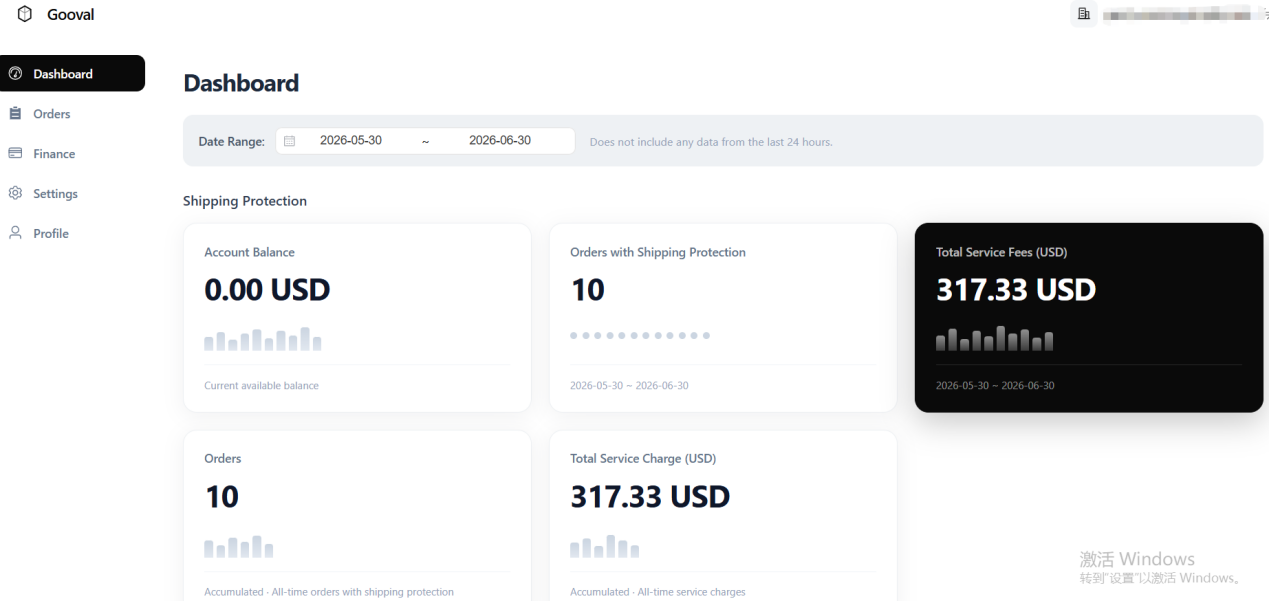
You can review earnings anytime in the Orders tab of the Shopify Gooval app, or sign in to the seller admin at seller.gooval.io to monitor performance.